Introduction
In my previous blog post, I aimed to offer a comprehensive guide on the overview of Microsoft Copilot, including paths to achieving success by making the most out of it. I encourage you to take a moment to read it and gain a broader understanding of the landscape in which Copilot for Microsoft 365 operates. This background will provide valuable context as we dive deeper into its capabilities and how it can transform your work within the Microsoft ecosystem.
In this blog, we’ll take a closer look at Copilot for Microsoft 365, exploring its features, how to get started, practical use cases, user experiences, potential challenges, licensing requirements, and what the future may hold. Join me as we navigate through the ins and outs of integrating Copilot into our daily routines, enhancing our productivity with this powerful tool. Whether you’re a seasoned pro or new to Microsoft 365, there’s something here for everyone as we delve into how Copilot can transform the way we work.
The Integral Role of Microsoft 365 in Our Daily Lives
Starting from ourselves, when we look around, it’s clear to see that Microsoft 365 tools have become an integral part of our day-to-day lives, spanning both personal and professional realms. Whether it’s crafting or editing text-based content in Microsoft Word, the go-to application, or presenting structured information visually through PowerPoint, these tools have cemented their place in our daily routines. Microsoft Excel, renowned for its balance of complexity and simplicity in calculations, computations, reporting, data manipulation, and visualization, has been a staple for many years. There’s no question that Microsoft Outlook and Teams sit at the heart of our daily communication and collaboration, especially in our professional lives. With the advent of cloud services becoming a standard in the past decade, all these tools have now been combined and rebranded under Microsoft 365 by Microsoft, offering an unmatched capability of extension to other technologies on a larger scale. This is where the golden opportunity to adopt Copilot alongside our familiar companions arises, for both personal and professional use, to significantly boost our productivity. Within the Microsoft productivity ecosystem, these tools primarily used to rely on the user’s own efforts and skills to produce high-quality and rich content. Copilot, with its assistive nature, unveils incredible possibilities to elevate human intelligence by saving a tremendous amount of time and effort on any tedious task.
Practical Use Cases
Below,are some practical use cases for Copilot across Microsoft Word, PowerPoint, Excel, Outlook, and Teams, showcasing how Copilot can transform our daily workflows and enhance our digital experiences.
- Microsoft Word:
- Content Creation & Editing: Use Copilot to generate draft documents or blog posts based on an outline or topic. It can also suggest improvements to your writing, such as grammar corrections, style enhancements, and more concise language.
- PowerPoint:
- Presentation Design & Refinement: Copilot can help design compelling presentations by suggesting layouts, themes, and even generating entire slide decks from a summary. It can also recommend visual enhancements and data visualization techniques to better convey your message.
- Excel:
- Data Analysis & Visualization: Leverage Copilot to analyze complex datasets, perform predictive analysis, and automatically generate charts and graphs. It can help identify trends, summarize data insights, and even suggest actions based on the analysis.
- Outlook:
- Email Drafting & Management: Use Copilot to draft emails by providing a brief summary of what you intend to communicate. It can suggest responses to incoming emails, help manage your inbox by highlighting important messages, and schedule meetings based on email conversations.
- Teams:
- Meeting Summarization & Action Item Tracking: Copilot can provide real-time meeting transcriptions in Teams, summarize key discussion points, and track action items. It enhances collaboration by organizing conversation threads and extracting unresolved questions or decisions needed.
Understanding Copilot for Microsoft 365 with Visual Architecture Insights
I’m sharing two insightful visuals from Microsoft documentation below, which will save us countless words in explaining the mechanics behind the scenes.
In the diagram below, which I’ve enhanced with three layers from my own perspective, you’ll get a comprehensive view of the logical architecture of the solution operating behind the scenes.

The Frontend Layer, in my own words, comprises the Microsoft 365 applications that users engage with daily for productivity and collaboration. This suite of Microsoft 365 applications will continue to serve as the interface to harness the capabilities offered by Copilot for Microsoft 365. Users will experience Copilot features as seamlessly integrated enhancements within the tools they are accustomed to. Imagine an add-on within Outlook that appears in or above your email previews with actionable commands, or a side pane in your Word, Excel, or PowerPoint documents facilitated by an add-on that empowers you to generate content or analyze data within the current context. Within Microsoft Teams, Copilot’s potential extends even further, assisting in organizing conversational content into summaries/notes, identifying unresolved questions from discussions, and more.
The Service Layer, from my perspective, acts as a crucial bridge connecting organizational data with user experience, seamlessly integrating complex logical components for the computations of Copilot technology. The true strength of Copilot for Microsoft 365 lies in its ability to unravel complexity through the use of Microsoft Graph services and components, leveraging your existing organizational data and services to its advantage.
The Data Layer, forming the backbone of the entire framework, is pivotal in deriving the most meaningful and contextual benefits from GenAI. By accessing data across personal, team, and organizational levels, Copilot is equipped to process and produce content from various sources tailored to your specific use case. Furthermore, by leveraging the existing Microsoft 365 infrastructure and security capabilities, Copilot ensures that the data involved in your workflows adheres to the stringent security and compliance policies and requirements of your business.
The short video below offers an excellent depiction of the data flow and the components involved in the Microsoft 365 Copilot system from start to finish. As a huge fan of visualizations, I highly recommend taking just under two minutes to watch it. I have no doubt that it will provide memorable insights that you’ll recall whenever you utilize Copilot in your own projects.
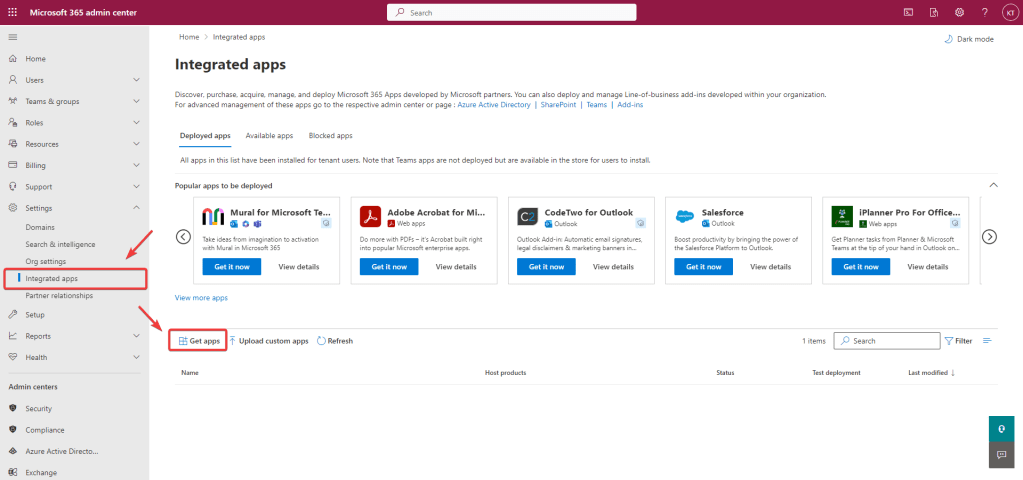
Getting Started with Copilot for Microsoft 365
Activating Copilot for Microsoft 365 involves several steps to ensure you have full access to its range of features across different applications like Word, Excel, PowerPoint, Outlook, and Teams. Here’s a step-by-step guide to get you started:
Step 1: Verify Your Subscription
- Ensure you have an active Microsoft 365 subscription that includes access to Copilot features. Copilot may require a specific tier of subscription, so check Microsoft’s official documentation for eligibility.
Step 2: Update Your Microsoft 365 Suite
- Open any Microsoft 365 application (Word, Excel, etc.).
- Go to File > Account (or Office Account in some applications).
- Under Product Information, choose Update Options > Update Now to ensure your suite is up to the latest version.
Step 3: Sign in to Your Microsoft Account
- If not already signed in, enter your Microsoft 365 account credentials to log in. Copilot features are linked to your subscription, so this step is crucial. Microsoft Entra account (i.e. Azure Active Directory (Azure AD)) is required to authenticate and use Copilot features.
Step 4: Access Copilot Settings
- In the application of choice (e.g., Word), go to the File menu and select Options.
- Look for a tab or section named Copilot or similar. The exact location might vary based on the app and the current updates.
Step 5: Activate Copilot Features
- Within the Copilot settings, toggle the features you wish to enable. There might be general settings to activate Copilot or more specific options tailored to each application’s capabilities.
Step 6: Start Using Copilot
- Begin your task, such as drafting an email in Outlook or creating a document in Word.
- Invoke Copilot by using the built-in commands, suggestions, or the Copilot pane, depending on the application. Instructions or prompts within the app can guide you on how to interact with Copilot for specific tasks.
Step 7: Customize Your Experience
- As you use Copilot, adjust its settings and preferences to better suit your workflow. This might include customizing suggestions, setting up specific commands, or tailoring how and when Copilot interacts with your content.
Additional Tips:
- Stay Updated: Regularly check for updates to Microsoft 365 and Copilot to access new features and improvements.
- Explore Tutorials and Resources: Microsoft offers tutorials and guides on leveraging Copilot in Microsoft 365. These can be invaluable for understanding advanced functionalities.
By following these steps, you should be able to successfully access and activate Copilot across your Microsoft 365 applications, enhancing your productivity and making the most of AI-powered assistance.
Conclusion
As we wrap up this deep dive into Copilot for Microsoft 365, it’s clear that this tool is not just about enhancing productivity; it’s about transforming how we interact with technology to create, collaborate, and communicate. From drafting documents in Word to analyzing data in Excel and streamlining communications in Outlook and Teams, Copilot stands as a testament to the future of work.
I encourage you to take these insights, explore the capabilities of Copilot for yourself, and start integrating these advanced tools into your daily routines. Dive in, explore, and don’t hesitate to share your journey and successes, your feedback and stories could inspire others.
Stay tuned for more posts in this series, where we’ll explore other Copilot versions, each designed to revolutionize different facets of our digital workflows and creativity.